
- Published on
- Authors

- Name
- Plant Health
Guide to Creating a Homemade Herbal Facial Toner with Witch Hazel
In the world of holistic healing and natural remedies, witch hazel stands out as a versatile and potent botanical extract. Revered not only in folk traditions but also in modern naturopathy, this natural astringent can transform your skincare routine. Today, we delve into creating a homemade herbal facial toner with witch hazel, providing your skin with a blend of nature's best.
Understanding Witch Hazel: The Sacred Bark
Witch hazel (Hamamelis virginiana), derived from the bark and leaves of the witch hazel shrub, is celebrated for its anti-inflammatory and antioxidant properties. Historically, Native American tribes utilized witch hazel extracts for medicinal purposes, particularly to soothe skin ailments and reduce swelling.
Benefits of Witch Hazel for Skincare
- Astringent Properties: Tightens skin pores, reducing oiliness.
- Anti-inflammatory Effects: Calms skin irritations and redness.
- Antioxidant Rich: Protects skin cells from damage due to free radicals.
- Natural Cleanser: Removes impurities without drying out the skin.
Crafting Your Homemade Herbal Facial Toner
To create a herbal facial toner that embodies both the wisdom of ancient practices and modern skincare science, follow this step-by-step guide.
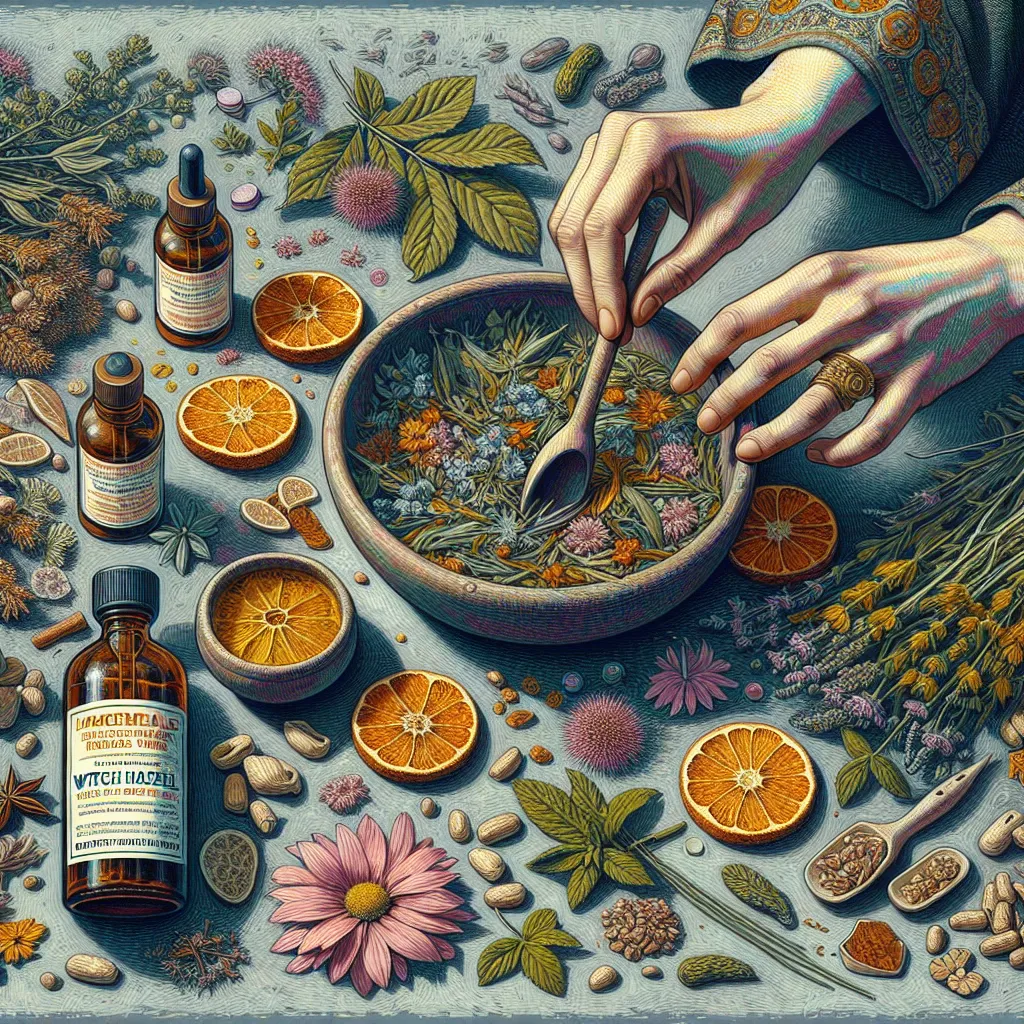
Ingredients and Tools
- Witch Hazel Extract: Ensure it is alcohol-free to avoid drying out the skin.
- Distilled Water: Purified to prevent contamination.
- Herbs: Chamomile, calendula, and lavender.
- Essential Oils: Tea tree, rose, or neroli, depending on your skin type.
- Glass Bottle: Dark amber or cobalt to preserve the toner.
- Strainer: Fine mesh or cheesecloth.
Step-by-Step Instructions
Step 1: Infuse the Herbs
- Boil Water: Bring 1 cup of distilled water to a gentle boil.
- Prepare Herbs: Combine 1 teaspoon each of dried chamomile, calendula, and lavender.
- Steep Herbs: Place the herbs in a heat-safe bowl and pour the boiling water over them. Cover and let it steep for 20-30 minutes.
Step 2: Strain the Herbal Infusion
- Strain: Use a fine-mesh strainer or cheesecloth to filter out the herbs, pouring the liquid into a clean container.
Step 3: Mix the Toner
- Combine with Witch Hazel: In a glass bottle, mix 1 part witch hazel extract to 1 part herbal infusion.
- Add Essential Oils: Add 5-7 drops of essential oil (e.g., tea tree for acne-prone skin, rose for hydration, or neroli for mature skin).
Step 4: Store and Preserve
- Bottle: Pour the mixture into a dark glass bottle to protect it from light degradation.
- Label: Clearly label the bottle with ingredients and the preparation date.
- Refrigerate: Store in the refrigerator for up to two weeks.
Usage and Best Practices
Application Tips
- Test Before Use: Perform a patch test to check for sensitivities.
- Daily Routine: Use the toner twice daily—morning and evening—after cleansing.
- Application Method: Apply using a cotton pad, gently sweeping across the face and neck.
Enhancements and Customizations
- Customize Herbs: Adapt the herbal mix based on your skin's needs—rose petals for soothing properties, green tea for extra antioxidants, or thyme for antibacterial effects.
- Essential Oil Variations: Switch out essential oils to address specific skin concerns.
Conclusion
Creating a homemade herbal facial toner with witch hazel is more than a skincare routine—it's a ritual that interlaces the ancient wisdom of plant medicine with modern beauty science. As you embrace this journey, may your skin reflect the inner harmony fostered by nature's finest components.
By adding this gentle, yet powerful toner to your daily regimen, you not only promote healthier, glowing skin but also connect deeper with the earth's healing essence. Harness the power of witch hazel and embark on a transformative skincare journey today.